Thyme is a beautiful and valuable perennial herb that can be grown indoors and only needs basic care to do well. Even though thyme seeds take a long time to sprout, the straight, woody stems can grow between 6 and 12 inches tall in a single season. This gives gardeners a lot of tasty fresh herbs or herbs that can be dried and used all year. If you want to grow thyme indoors, you can plant seeds, nursery plants in pots, or pieces of existing plants at any time of the year.
To grow thyme indoors, you'll need potting soil with a high pH that drains well and should be full of nutrients. Your thyme plants will stay healthy if you water them occasionally and feed them with an excellent organic fertilizer. You can grow thyme near windows if the temperature inside your house stays between 62°F and 70°F. This is especially true if you only get sunlight from the side.
Light pruning also helps the plant stay bushy and small. Thymes do well in direct or indirect sunlight or LED grow light. Thyme grows in temperatures ranging from 17 to 210 degrees Celsius. Read until the end to find out how to grow thyme successfully.
A Brief Summary of Growing Thyme Indoors
Plant thyme in the spring when the risk of frost has passed.
Separate thyme plants by 12 to 24 inches in a very sunny location with healthy, well-drained soil that has a pH close to 7.0.
Before planting, add several inches of compost or other organic material to the existing soil.
Feed frequently with a water-soluble plant meal for optimal results.
Keep the soil moist and water the top inch of soil when it dries up.
Once thyme has established, harvest as required, but do not prune more than a third of the plant at once.
What Do You Need To Grow Thyme Indoors?
Here I will briefly explain the five basic things you may need most to grow your thyme plants indoors. To start growing thyme indoors, you’ll need:
You will need a ceramic self-watering planter or pot that is at least 6" (1 quart or more).
Free-Draining Mix or Miracle-Gro Performance Organics All Purpose In-Ground Soil
A balanced blend is needed at the beginning of cultivation. It should have equal amounts of nitrogen, phosphorus, and potassium (with NPK numbers like 10-10-10).
The herb blend you will need should be high in nitrogen (with NPK numbers like 10-5-5).
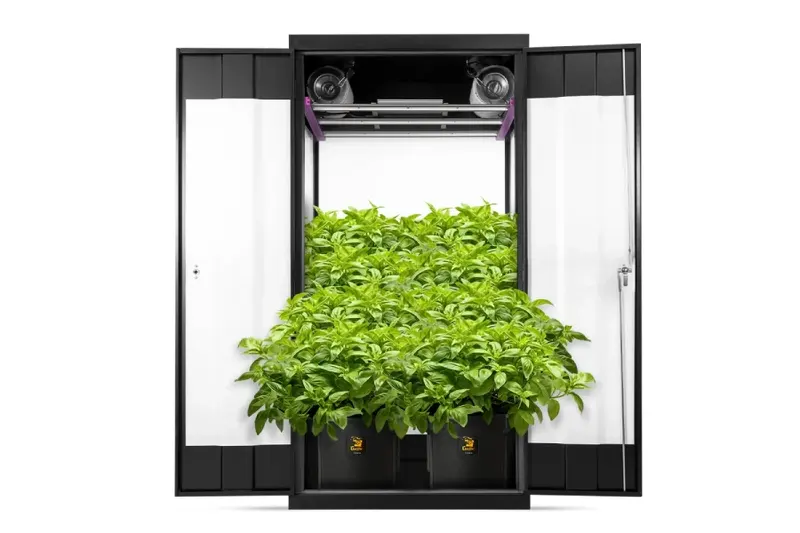
Finally, you will also need an excellent and strong grow light. A kind of grow light that can provide the thyme with the equivalent of 5+ hours of direct sun [DLI of 15+ mol/m2/day].
The ideal container for growing thyme indoors is a pot since it requires the least amount of care and attention. Use a clay container with ample drainage pores to enhance water drainage. Many indoor plants, including thyme, are afflicted by root rot when the soil is saturated.
Here is the technique for starting a thyme garden indoors:
Add a sterile potting mixture consisting of sand, peat moss, potting soil, and perlite to clean, dry clay.
The potting mixture requires just enough moisture.
In the planter, place either your thyme seeds or propagates to grow.
Every two weeks, fertilize your thyme with a diluted quantity of fish emulsion.
On occasion, add fertilizer containing nitrogen, potassium, and phosphorus at a ratio of 1:1:1.
When the dirt becomes dry, water the thyme plants.
After the herb has been established, add a layer of organic mulch to give the plants a more aesthetically pleasing appearance.
Soil Requirements For Growing Thyme Indoors
Plant thymes on sand-based, well-drained soils with an optimal pH of 7.0. The optimal potting soil should be light and airy to promote rapid drainage. Airy potting soil improves soil aeration and provides adequate room for root growth.
Once grown, thyme plants are drought-resistant and frequently prefer under-watering to over-watering. Wait until the earth is parched, then drench your thyme plant with water.
Allow the soil to dry completely before watering again. Remember that thyme may blossom, but unlike other herbs, this is not a sign that it is getting too much water or will bolt. If you prune it to encourage new growth, it will continue to grow and thrive even after it blooms.
How's this for easy? Thyme favors nutrient-deficient soil, so supplementary fertilization is unnecessary. This also suggests that the herb should be put in a pot or container by itself, as mixing it with other plants is likely to make the soil too rich for optimal growth.
If you want to give your thyme a boost, feed it with a diluted liquid fertilizer at the beginning of its growing season; pick an organic fertilizer if you intend to cook with or consume your thyme.
Pay close attention to the fertilizer container to make sure you give your thyme plants the right amount and don't hurt them.
Light Requirements For Thyme Plants
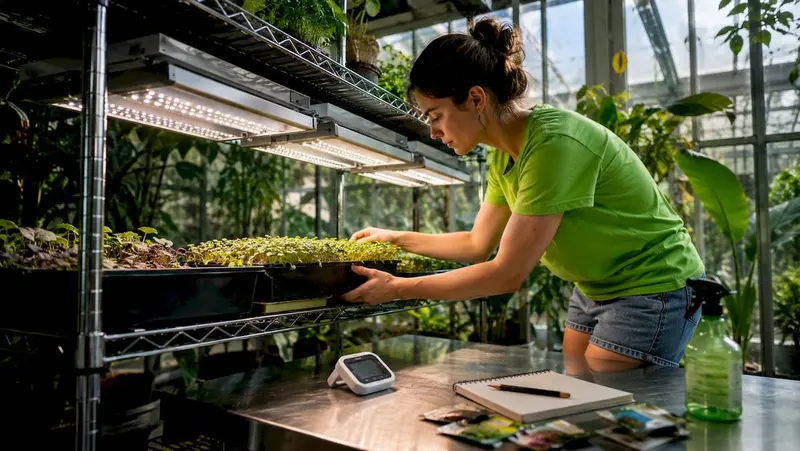
To grow thyme requires either indirect or direct sunlight. Place the plant container in a bright window that receives at least six hours of daylight each day. Or, use LED grow lights to cultivate thyme inside.
Thyme likes the sun and does when planted or in a spot where it gets full sunlight almost all day.
The ideal is a windowsill that gets eight hours of sun a day, but if your home is mostly shaded or you want to keep your thyme growing through the darker winter months, a cozy spot under some fluorescent grow lights will also work.
Thyme comes from the Mediterranean and does in a dry, hot climate. Try to keep the temperature in your home between 60 and 80 degrees Fahrenheit, and ensure there isn't too much humidity (that means keeping your plant away from rooms that tend to be more humid, like kitchens or bathrooms).
Thymes attract pests and bugs like spider mites and aphids. Adoption of non-toxic pest and bug control methods is the option. Some less-toxic pest management methods are listed below.
Weeding and removing garden residues is necessary to eliminate pests and insect hosts. Remove diseased plants and dispose of them in a garbage can.
Beneficial commercial insects are used to combat and kill pests and bugs. To manage pests and bugs, use organic insecticides such as neem oil.
Once grown, indoor thyme plants can be picked at any time, like outside plants. Cut the stems off whenever you need the herb for a dish.
After three or four years, potted plants might become woody, at which point you should remove, divide, and transplant the smaller portions into separate pots with a fresh potting mix.
Thyme does not require much space to develop, so a container as little as four inches in diameter can be sufficient for growing young plants. This plant may benefit from clay or terracotta containers. Check that the container has enough drainage.
When it comes to effectively growing thyme, the soil is possibly the most critical factor. Because thyme is prone to root rot and overwatering, use a soil composition that is very dry and well-draining.
A container with adequate drainage is also essential, and those constructed of clay or terracotta can help wick away excess moisture from the soil. Thyme is not fussy about soil pH levels, and it may flourish in a range of pH values ranging from 6.0 to 8.0.
When a thyme plant develops woody stems rather than sensitive leaves and branches, the thing to do is repot it. Please carefully remove it from its container, then separate the root portions.
Choose a tiny pot with a diameter of four inches.
Repot the plants using the potting soil combination specified above.
Start Growing Thyme With Seed vs. Cutting vs. Nursery Plant
Thyme plants can be grown from seed, propagated from an existing plant, or purchased live at many garden centers.
This way, the plants are better suited to your growing conditions, and you are less likely to bring pests into your home by accident.
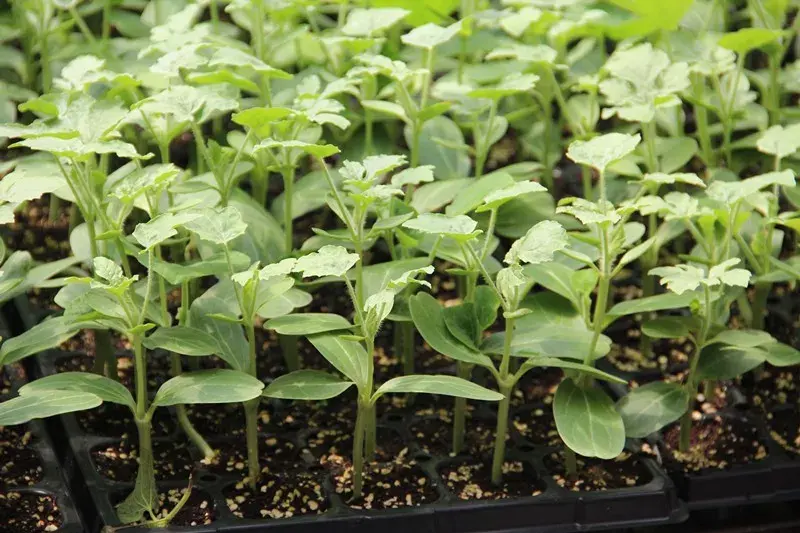
Thyme germinates fast—plant one site in a 6-inch or one-quart container. Sites should be spaced 4" apart in bigger containers. Spread four seeds across the surface of each pot. Warm up the soil (60-70°F, ideally 65°F).
Sprouts develop about 21 days on average, although they might grow as soon as 14 days or as late as 28 days, depending on your circumstances.
Covering the seeds prevents them from sprouting. To expedite the process, soak them in water for 12–24 hours before planting.
Thyme Propagation: How to Clone From a Stem Cutting
If you already have a Thyme plant that you adore (or a friend does! ), you can quickly "clone" it using sharp scissors and a clean glass of water.
First, clip a couple of 6" fresh growth branches (avoid anything woody). Remove the lowest leaves, leaving only the stem in the bottom half.
Place in a glass filled with 3" of water, ensuring that the chopped leaf areas are submerged. Replace the water in the glass every few days and place it on a light windowsill.
Roots should appear in a number of weeks, at which point you may transplant them into your pot. While extra rooting hormones are not harmful, they are not required for Thymus plants.
Here is the summary of how to clone it.
Cut a 6-inch segment of new growth.
Remove half of the leaves and lay them in the water on a sunny window sill.
Wait 42 days for a couple of 12-inch roots to grow before transplanting it into its container.
Live starter plants allow you to get a head start on your first harvest. Pick the bushiest plant available in a garden center (tall and skinny ones will be slow growers) and check it well for pests.
The leaves should be dark green and free of holes, stains, and curled edges. It's a good idea to "quarantine" your plant for approximately a week after you get it home to ensure it's free of ride-on bugs.
Make sure your seedling is free of pests and diseases. It's time to move it to its permanent home.
Remove some dirt from the final planter, allowing enough room for the seedling's bottom to be slightly above the soil level.
Turn the container over while carefully tugging the seedling while holding the stem with one hand. A couple of squeezes on the pot might help remove it.
Fill the last container with dirt, ensuring it's tight but not compressed.
Weeks 2-4: Keep an eye out for sprouts.
Seedlings might appear in as little as 14 days (though 21 days is more typical). Your setup is likely too chilly if you haven't seen any sprouts after 28 days.


Questions & discussion
Have a question or something useful to share? Start the conversation.