Grow lights are artificial light sources designed to replace or supplement sunlight for indoor plants, and the three main types of beginner-friendly grow lights are LED, compact fluorescent (CFL/T5), and high-intensity discharge (HID) lamps. Each type works differently, costs differently, and suits different growing situations. LEDs are the most popular starting point for novice indoor gardeners because they consume the least electricity, produce minimal heat, and require almost no technical setup. This article breaks down every type so you can match the right light to your plants, your space, and your budget.
What are the types of beginner-friendly grow lights?
The three main grow light types beginners encounter are LED, fluorescent (T5/T8/CFL), and HID (metal halide and high-pressure sodium). Each category represents a different technology, a different price point, and a different level of complexity. LEDs consume around 100W for a standard beginner panel, fluorescents sit in the mid-range, and HIDs consume the most power while generating the most heat. Knowing this hierarchy upfront saves you from buying the wrong fixture for a small apartment grow shelf.
The right choice depends on three factors: the size of your growing area, the growth stage of your plants, and how much you want to spend on electricity each month. A beginner growing herbs on a windowsill shelf needs a completely different solution than someone setting up a 4x4 tent for tomatoes. The sections below walk through each type in detail.
LED grow lights: why they lead for beginners
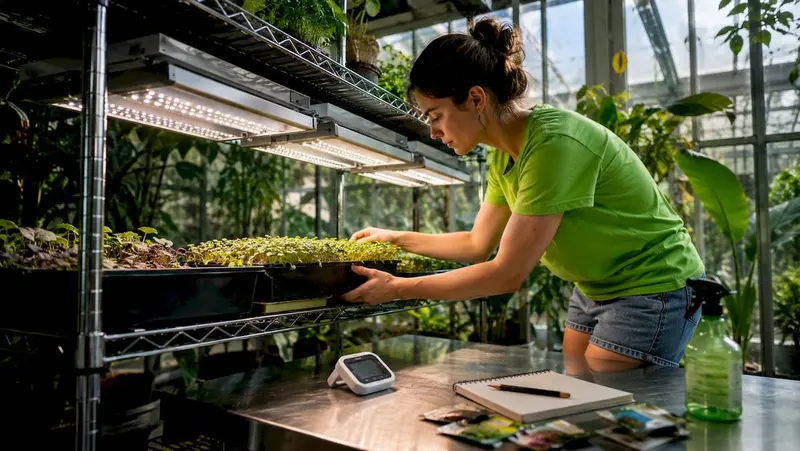
LED grow lights use semiconductor diodes to convert electricity directly into light, which is why LEDs consume the least electricity and produce far less heat than competing technologies. You can hang an LED panel over a seedling tray on your kitchen counter without worrying about scorching leaves or overheating a small room.
Key benefits that make LEDs the top pick for novice growers:
Energy efficiency: A quality 100W LED panel delivers light output comparable to a 250W HID fixture, cutting your electricity bill significantly.
Full-spectrum output: Full-spectrum LED grow lights provide both blue and red wavelengths, supporting every growth stage from germination to flowering without swapping bulbs.
Long lifespan: Most LED panels last 50,000 hours or more, meaning years of use before any replacement is needed.
Low maintenance: No ballasts, no bulb swaps, no ventilation fans required for heat management.
Flexible placement: LEDs can hang closer or farther from the canopy without the burn risk that HIDs carry.
Many beginner kits include dimmable full-spectrum LEDs for flexible lighting, which means you can dial down intensity for delicate seedlings and ramp it up for flowering plants.
Pro Tip: Set your LED panel to 50% power for the first two weeks with new seedlings.
Compact fluorescent and T5 grow lights: the low-cost entry point
Fluorescent grow lights work by passing electricity through mercury vapor inside a glass tube, which excites a phosphor coating to produce visible light. CFL bulbs screw into standard lamp sockets, while T5 fixtures are long, flat panels that hang above plant trays.
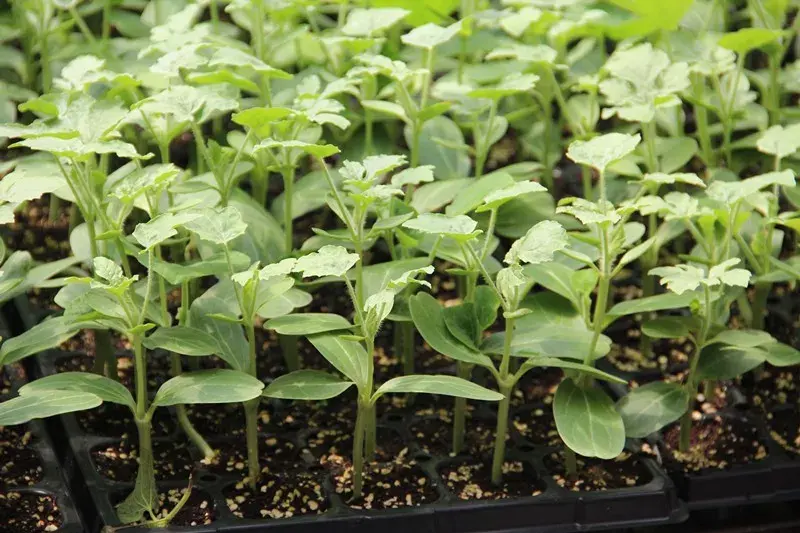
The critical limitation is coverage. Fluorescent lights must be placed close to plants to be effective, typically within 2 to 4 inches for CFLs and 4 to 6 inches for T5 panels. Move them farther away and the light intensity drops sharply, leading to leggy, stretched seedlings that lean toward the fixture. This physical proximity requirement limits fluorescents to small seedling trays, propagation setups, and low-light houseplants.
Low upfront cost: A basic T5 fixture costs a fraction of a comparable LED panel.
Seedling performance: Fluorescents produce a cool, blue-heavy spectrum that works well for germination and early vegetative growth.
Plug-and-play simplicity: No special wiring, no ballast setup, no learning curve.
Safe heat levels: Fluorescents run warm but not hot enough to burn plants at the recommended close distances.
Where they fall short is scaling. Once your plants grow taller than a few inches, keeping fluorescents close enough to be effective becomes difficult. You end up repositioning fixtures constantly, and the limited coverage area means you can only grow a few plants at a time. For a small herb garden or a seedling propagation station, fluorescents are a solid, affordable choice. For anything larger, you will outgrow them quickly.
HID grow lights: high power with higher complexity
HID stands for high-intensity discharge, and this category covers two distinct lamp types: metal halide (MH) and high-pressure sodium (HPS). Metal halide produces a blue-white light that favors vegetative growth, while HPS outputs a warm orange-red spectrum that drives flowering and fruiting. Serious indoor growers often use both in sequence, switching from MH during the vegetative stage to HPS when plants begin to flower.
A 600W HPS lamp can cover a 4x4 foot area with intense, penetrating light that LEDs at the same wattage cannot always match in raw canopy penetration.
The trade-offs are significant for beginners:
Heat output: HID fixtures run extremely hot and require exhaust fans, carbon filters, and ducting to keep grow space temperatures in a safe range.
Electricity consumption: Metal halide and high-pressure sodium lamps consume more power and require careful setup, including a separate ballast unit.
Setup complexity: You need a ballast, a reflector hood, and proper hanging hardware before a single plant sees any light.
Higher running costs: The combination of high wattage and frequent bulb replacement (every 12 to 18 months for HPS) adds up fast.
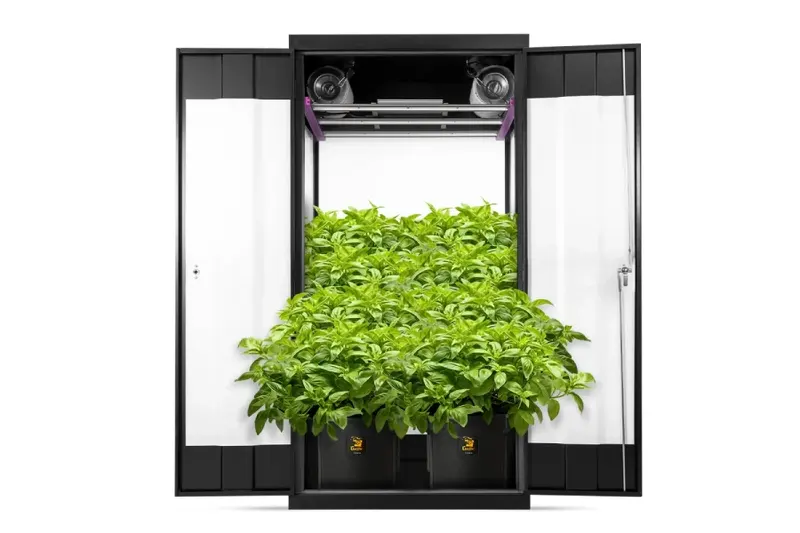
For anyone starting with a shelf, a closet, or a small grow box, the heat and complexity make HIDs a poor first choice. HID lights require ventilation that most small indoor spaces simply cannot accommodate without significant modification.
Comparing the three main grow light types side by side
Choosing between LED, fluorescent, and HID comes down to matching the technology to your actual growing conditions. The table below summarizes the key differences across the factors that matter most to beginners.
That ranking directly affects your monthly electricity bill and the amount of heat management your space requires. A beginner running a 1000W HPS in a small bedroom will spend more on cooling than on the light itself.
Pro Tip: If you are unsure which type fits your setup, start with a full-spectrum LED panel sized for your grow area. You can always add a second fixture later, but you cannot undo the heat damage or the electricity bill from starting too large with HID.
How to choose the right grow light for your indoor garden
The correct grow light choice depends on application, scale, and plant stage rather than any single technology being universally .
How large is your growing area? Measure your space in square feet. A 2x2 foot shelf needs roughly 100 to 150 watts of LED coverage. A 4x4 tent needs 400 to 600 watts. Fluorescents only cover a narrow strip directly below the fixture, so they work for trays but not tents.
What growth stage are your plants in? Seedlings and clones need blue-spectrum light around 5000K to 6000K. Flowering plants need red-spectrum light in the 2700K to 3000K range. Full-spectrum LEDs cover both stages without any changes to your setup.
What is your monthly electricity budget? Running a 600W HPS for 18 hours a day adds up to a meaningful electricity cost over a growing season. LEDs at equivalent output use roughly half that power, which matters if you are growing year-round.
How much setup effort are you willing to invest? If you want to plug in a light and start growing the same day, LEDs and fluorescents are your options. HIDs require ballast installation, reflector mounting, and ventilation planning before you can use them safely.
Incorrect fixture distance leads to leggy or slow-growing seedlings, so placement matters as much as the light type you choose. LEDs allow more flexibility in hanging height, while fluorescents must stay close to be effective. Set a timer for 16 to 18 hours of light per day for seedlings and 12 hours for flowering plants, regardless of which fixture type you use.
The most effective grow light for beginners is a full-spectrum LED, sized to your grow area, because it combines low heat, low energy use, and zero setup complexity.
What I have learned after years of watching beginners choose grow lights
Most beginners overthink the technology and underthink the placement. I have seen growers spend weeks researching HID setups for a 2x2 foot closet shelf, then abandon the whole project because the heat made the space unusable. The light type matters far less than getting the fixture at the right height and running it on a consistent schedule.
My honest recommendation is to start with a single full-spectrum LED panel sized for your actual space, not the space you might have someday. You can grow herbs, leafy greens, and even small fruiting plants through a full cycle without ever touching the settings.
The one mistake I see repeatedly is buying fluorescents because they are cheap, then hanging them too high because the fixture looks awkward close to the plants. Fluorescent grow light strength and coverage diminish significantly at distance, and the result is always the same: pale, stretched plants that never recover their structure. If you go the fluorescent route, commit to keeping the fixture within 4 inches of your canopy and accept that you will need to raise it every few days as plants grow.
HIDs are not beginner lights. They are production lights that happen to be available to beginners. If your goal is to grow a few tomato plants or a tray of basil, an HID setup will cost you more in electricity, cooling, and frustration than the harvest is worth.
Start small, get comfortable with light scheduling, and upgrade when your plants outgrow your current setup. That path works every time.
Find the right grow light at Ledgrowlightsdepot


Questions & discussion
Have a question or something useful to share? Start the conversation.